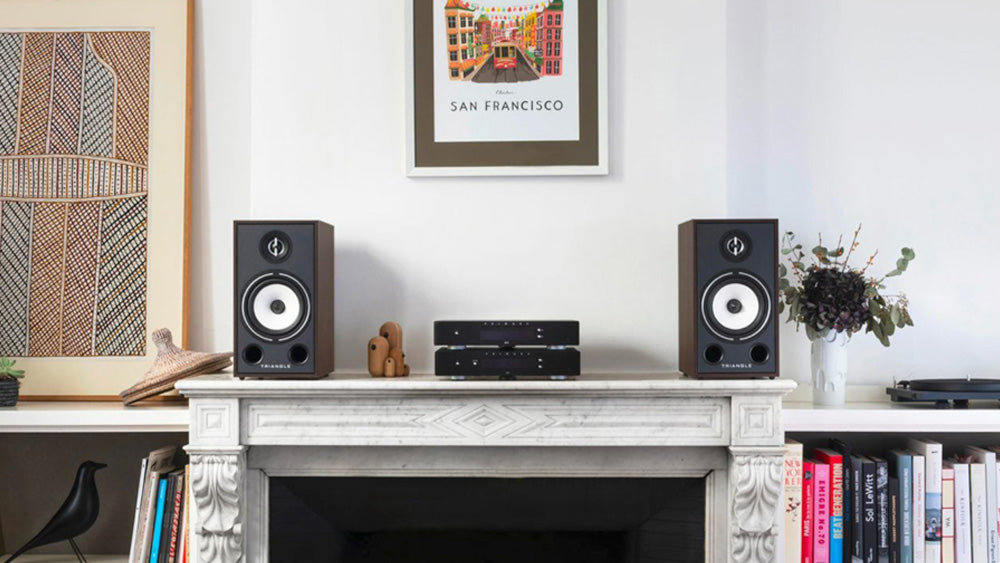
Complete guide to correctly connecting a pair of speakers to a stereo amplifier
If you have a stereo amplifier and want to enjoy an immersive audio experience, hooking up a pair of quality speakers is essential.
In this guide, we'll show you step-by-step how to connect speakers to your stereo amplifier correctly to get the best quality audio out of every listen.
Step 1:
Choose the right speakers for your amplifier
Before starting the connections, it is important to ensure that the speakers are compatible with your stereo amplifier.
Check amplifier specifications for supported impedance and output power.
Make sure that the impedance of the speakers (measured in ohms) matches that of the amplifier and that the manufacturer's recommended output power for the speakers is in line with that of the amplifier's output.
Step 2:
Prepare the connecting cables
To connect the speakers to the amp, you'll need patch cords. Use quality cables to ensure a crystal clear audio signal without interference.
You might opt for copper cables, which offer good conductivity and resistance to signal loss. Prepare two cables, one for each speaker.
Step 3:
Connecting the speakers to the amplifier
Now we can start with the links. Follow these simple steps to avoid mistakes:
-
Turn off the amplifier : Before connecting any other equipment, make sure that the amplifier is turned off to avoid damage to electronic equipment.
-
Identify amplifier inputs : Find amplifier inputs, usually labeled " Speaker Out " or " Output. "

-
Connect the cables : Connecting the power cables is a very important step to ensure correct audio reproduction and to avoid possible phase problems, therefore it deserves the right attention, we see it in detail below:

-
What is Power Cable? A speaker cable essentially consists of two wires: one is the positive (+) pole , usually marked with a red stripe or plus (+) sign , and the other is the negative (-) pole , often marked with a black stripe or minus sign (-). To avoid placing the speakers in push-pull, it is essential to connect the speaker cables correctly.

-
Look at the amplifier terminals : Look at the amplifier inputs. You will find two terminals for each channel: one for the positive pole (+) and one for the negative pole (-).
-
Connect the speaker cables : Take one of the speaker cables and connect the positive (+) pole of the cable to the positive (+) terminal of the cabinet. Do the same with the other cable and connect the negative (-) end of the cable to the negative (-) terminal of the speaker. Repeat the process for the missing channel.

-
Check the connections : Make sure the speaker leads are securely connected to the speaker and amplifier terminals. A loose connection can cause distortion or phase problems.
-
Check polarity : It is essential to ensure that the power cables are connected in the correct polarity. Correct polarity means that the positive (+) speaker lead is connected to the positive (+) amplifier lead and the negative (-) speaker lead is connected to the negative (-) amplifier lead. Reversing the speaker cables could knock the speakers out of phase, resulting in weak, fuzzy sound or even damage to the equipment.
-
What is Power Cable? A speaker cable essentially consists of two wires: one is the positive (+) pole , usually marked with a red stripe or plus (+) sign , and the other is the negative (-) pole , often marked with a black stripe or minus sign (-). To avoid placing the speakers in push-pull, it is essential to connect the speaker cables correctly.
- The importance of turning down the volume on your amplifier before testing: It is essential to avoid damage to your speakers and equipment. Too loud a volume can cause distortion, over-excitation of drivers, and damage to speaker cones. Protect your audio system and components by turning the volume down to minimum. This simple precaution will ensure a long life of your home system and a high quality audio experience.
- Audio test : After connecting the speaker cables correctly, run an audio test to verify that everything is working properly. Play a test track and listen closely. If the sound is well balanced and defined, you've connected correctly. If not, check the connections and polarity of the power cables again.
Our advice for a perfectly fit system!
To keep your audio system in top shape, consider these maintenance tips:
-
Regular cleaning: Remove dust and dirt from the speakers and amplifier using a soft, dry cloth. Alternatively, there are products dedicated to cleaning electronics , such as "Clean it" produced by the Project brand, a gel dedicated to cleaning electronics. Using specific products, you can gently remove dust and dirt without damaging sensitive components.

|

|
-
Cable Inspection: Periodically check the cables to make sure they are not damaged. Should you encounter any damaged cables, replace them as soon as possible.
-
Avoid excessive volumes: Do not turn the volume all the way up, as this may cause distortion or damage to your speakers.
You are now ready to immerse yourself in an immersive and fulfilling listening experience!


